
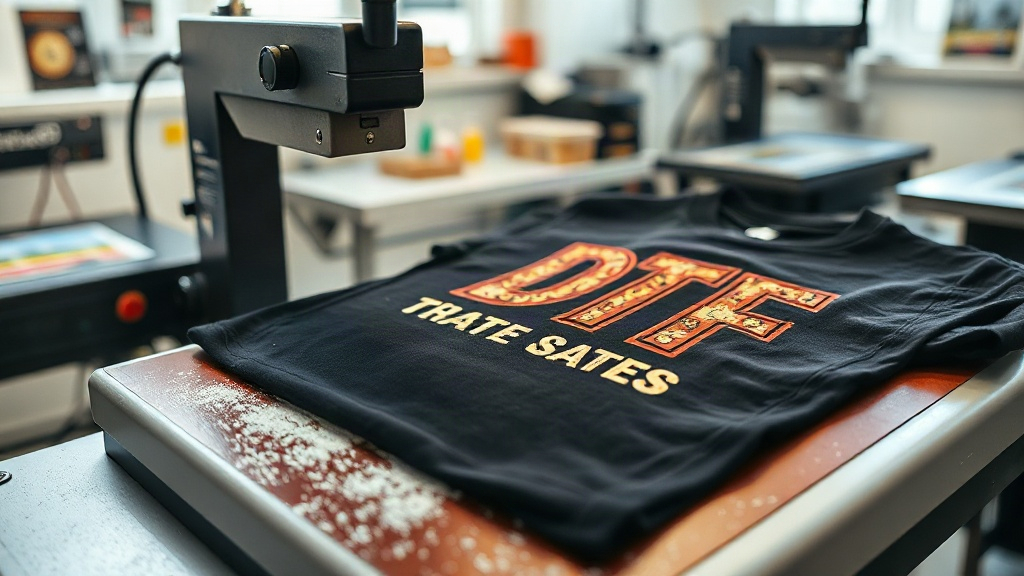
If you've been exploring custom apparel decoration, you've likely encountered DTF printing. Short for Direct-to-Film, this technology has rapidly gained popularity among hobbyists and professionals alike for its versatility and vibrant results. Unlike traditional methods that require specific fabrics or extensive setup, DTF transfers open up a world of possibilities for personalizing t-shirts, tote bags, and more. In this guide, we'll walk you through the essentials of DTF printing, from the basic process to practical tips that ensure success.
What Exactly Is DTF Printing?
DTF printing is a digital printing method where your design is printed onto a special film, coated with adhesive powder, and then heat-pressed onto a garment. The magic lies in the transfer film: it holds the printed image until heat and pressure release it onto the fabric. This approach differs from DTG (Direct-to-Garment) printing, which prints directly onto the shirt. DTF offers distinct advantages, such as the ability to print on dark colors without white underbase complications and compatibility with a wide range of materials, including cotton, polyester, and blends.
The process involves several key steps: designing your artwork, printing it onto the film using a DTF printer, applying hot melt adhesive powder, curing the powder, and finally transferring the design onto your substrate with a heat press. Each step is crucial for achieving durable, wash-resistant prints. While it may sound technical, once you grasp the basics, DTF becomes a straightforward and rewarding technique.
Why Choose DTF Transfers?
There are plenty of reasons why DTF printing has become a go-to for many. Let's break down the most compelling benefits.
Unmatched Versatility
One of the biggest draws is the ability to print on virtually any fabric. Whether you're working with 100% cotton, polyester, nylon, or even leather, DTF transfers adhere well. This flexibility means you don't need to stock multiple types of transfer papers or adjust your process drastically for different materials. Additionally, DTF works beautifully on dark garments, producing bright, opaque colors without the need for a white underbase, which is often required in DTG printing.
Vibrant, Detailed Prints
DTF printers use CMYK plus white ink to create rich, full-color images with fine details. The white ink acts as a base, allowing colors to pop even on black or navy shirts. The result is a soft-hand feel that's comfortable to wear, and the prints hold up well over time. You can achieve photographic quality and intricate gradients that might be challenging with other methods.
Cost-Effective for Small and Large Runs
Unlike screen printing, which requires separate screens for each color and becomes cost-effective only at higher quantities, DTF is economical for both one-offs and bulk orders. There's no minimum order quantity, and the per-unit cost remains relatively stable whether you're making a single custom shirt or fifty. This makes DTF ideal for small businesses, crafters, and anyone who wants to offer personalized items without a hefty upfront investment.
Durability and Washability
When properly applied, DTF transfers are incredibly durable. They withstand repeated washing without cracking, peeling, or fading, thanks to the strong adhesive bond formed during the heat press process. This longevity ensures your creations look great for years, keeping customers satisfied and coming back for more.
Getting Started with DTF Printing
Ready to dive in? Here's a step-by-step overview to help you start your DTF journey on the right foot.
1. Design Your Artwork
Begin with a high-resolution image (300 DPI is recommended) in a format like PNG or TIFF with a transparent background. Remember that DTF prints are mirrored, so you'll need to flip your design horizontally before printing. Most DTF printer software handles this automatically, but it's good to double-check. Keep in mind that fine lines and small text may not reproduce perfectly, so aim for bold, clear elements.
2. Print on DTF Film
Load your DTF film into the printer, ensuring it's the correct side up (usually indicated by a notch or marking). The printer lays down white ink first, followed by CMYK colors. This layering creates the vibrant effect. After printing, you'll have a wet film with your design.
3. Apply Adhesive Powder
While the ink is still wet, sprinkle hot melt adhesive powder evenly over the printed area. Gently shake off excess powder, then cure the film under a heat source (like a heat press or oven) at around 320°F (160°C) for a few minutes until the powder melts and becomes glossy. This step is critical for creating a strong bond with the fabric.
4. Heat Press the Transfer
Set your heat press to the recommended temperature (typically 300-320°F or 150-160°C) and medium pressure. Place the cured film onto your garment with the design facing up, and press for 10-15 seconds. For best results, use a Teflon sheet or parchment paper over the transfer. After pressing, allow the garment to cool completely before peeling off the film. You can peel either hot or cold, depending on the film type, so check the manufacturer's instructions.
5. Post-Pressing for Durability
For added wash resistance, some professionals recommend a second press for 5-10 seconds after removing the film. This ensures the adhesive fully penetrates the fabric fibers. Always follow the specific guidelines for your DTF film and powder to achieve optimal results.
Common Challenges and How to Overcome Them
Even with a solid process, you might encounter a few hiccups. Here are some typical issues and their solutions.
- Faded or dull colors: This often happens if the white ink layer is too thin or if the powder isn't fully cured. Ensure your printer is set to the correct white ink density and that the powder melts completely.
- Transfer peeling off after washing: Insufficient pressure, temperature, or time during heat pressing can cause poor adhesion. Verify your heat press settings and consider a post-press. Also, make sure the garment is clean and dry before pressing.
- Clogged printheads: DTF printers require regular maintenance, including daily nozzle checks and cleaning. Use the printer's cleaning cycle and store ink properly to prevent clogs.
- Powder not sticking: If the ink dries before powder application, the powder won't adhere. Work quickly and apply powder immediately after printing, or use a film that stays tacky longer.
DTF vs. Other Printing Methods
How does DTF stack up against DTG, screen printing, and vinyl? Each has its place, but DTF shines in specific scenarios.
DTF vs. DTG
DTG prints directly onto the garment, which is great for 100% cotton and light colors. However, DTG requires pre-treatment for dark shirts and can be limited on polyester. DTF eliminates pre-treatment, works on nearly any fabric, and excels on dark colors. The trade-off is that DTF involves an extra transfer step, but many find the versatility worth it.
DTF vs. Screen Printing
Screen printing is cost-effective for large orders of simple designs with few colors. It offers a classic look and feel. But for complex, multi-color images or small batches, DTF is more practical and affordable. DTF also allows for easy customization without setup fees.
DTF vs. Heat Transfer Vinyl (HTV)
HTV is great for single-color designs and simple shapes, but layering multiple colors can be time-consuming. DTF transfers handle full-color graphics effortlessly and provide a softer hand. For intricate artwork, DTF is the clear winner.
Tips for Success with DTF
To make your DTF printing journey smoother, keep these best practices in mind.
- Invest in quality supplies: Not all DTF films and powders are created equal. Choose reputable brands to avoid issues like inconsistent adhesion or poor color reproduction.
- Maintain your printer: Regular cleaning and maintenance are non-negotiable. A well-maintained printer produces reliable results and lasts longer.
- Test your settings: Every heat press and garment combination may require slight adjustments. Always do a test press on a scrap piece of fabric to dial in temperature, pressure, and time.
- Store films properly: Keep unused DTF film in a cool, dry place away from direct sunlight to prevent damage.
- Educate your customers: If you're selling DTF-printed items, provide care instructions (wash inside out, tumble dry low) to extend the life of the print.
Frequently Asked Questions About DTF Printing
Can I use DTF on 100% polyester?
Yes, DTF transfers work well on polyester, including 100% polyester garments. The key is to use a lower heat press temperature (around 280-300°F) to prevent the polyester from melting or the ink from bleeding. Always test first.
How long do DTF prints last?
With proper application and care, DTF prints can last as long as the garment itself. They resist cracking, peeling, and fading through many wash cycles. Following the recommended washing instructions will maximize longevity.
Do I need a special printer for DTF?
Yes, you need a dedicated DTF printer or a converted inkjet printer that uses DTF inks and can handle film. Standard desktop printers won't work because they lack the white ink channel and the ability to print on film.
Is DTF printing expensive to start?
The initial investment for a DTF setup can range from a few hundred to several thousand dollars, depending on the printer and supplies. However, the cost per print is relatively low, and you can start small and scale up as your business grows.
Can I wash a DTF-printed shirt immediately after pressing?
It's best to wait at least 24 hours before washing to allow the adhesive to fully cure. After that, turn the garment inside out and wash in cold water. Avoid fabric softeners and bleach to preserve the print.
With its versatility, vibrant output, and growing community, DTF printing is a fantastic addition to any custom apparel toolkit. Whether you're a hobbyist or a business owner, mastering DTF can open up new creative and revenue opportunities. So gather your supplies, fire up your printer, and start experimenting. The world of DTF transfers is waiting for your designs.