
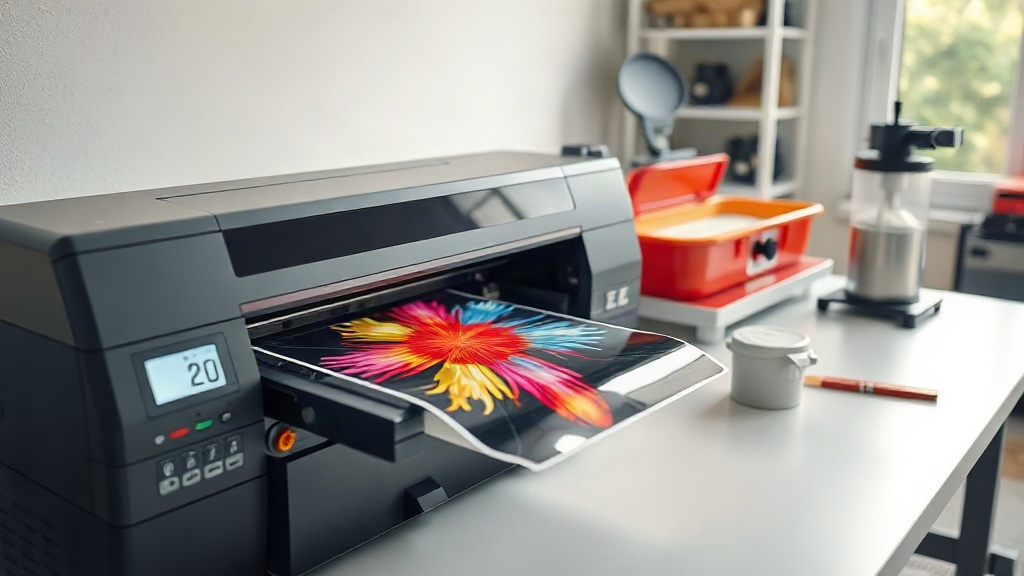
When you first hear about DTF printing, it might sound like just another printing acronym. But for anyone who decorates apparel, DTF (Direct to Film) opens up a world of possibilities. Unlike methods that require specific fabric types or complicated setups, DTF lets you print intricate designs onto a special film, then transfer them to cotton, polyester, blends, and even tough-to-print materials like nylon. The result? Soft, stretchable prints that hold up wash after wash. In this guide, I'll walk you through the entire DTF process, share practical tips I've learned from countless trial runs, and help you avoid common pitfalls. Whether you're a hobbyist or a small business owner, understanding DTF can elevate your custom gear.
What Exactly Is DTF Printing?
DTF printing is a digital printing method where your design is printed onto a PET film using specialized inks. The print is then coated with a hot-melt adhesive powder, cured, and later transferred onto fabric with a heat press. The magic lies in the adhesive: it bonds the ink to the fabric without needing a pre-treatment or a special coating on the garment. That means you can print on dark colors, light colors, and a huge range of materials without switching techniques. The process is relatively new compared to screen printing or DTG, but it has quickly gained fans for its versatility and durability.
The Core Steps of DTF
Every DTF transfer follows a similar path: design, print, powder, cure, press. Each step has its own nuances, and skipping or rushing any of them shows up in the final product. Let's break them down.
Step 1: Preparing Your Artwork
Your design file sets the foundation. For DTF, you want a high-resolution image, ideally 300 DPI at the final print size. Vector files are great, but high-quality PNGs with transparent backgrounds work perfectly too. Remember that DTF prints white ink as a base layer, so your design should have a transparent background where you want the fabric to show through. If your design has white areas that should remain white, that's fine; the printer will lay down white ink there as well. Just be mindful of very fine details or thin lines: they can get lost if the printer's white layer isn't perfectly aligned. I always do a small test print before committing to a large run.
Color Management Tips
Colors on screen can look different on fabric. DTF inks are typically CMYK plus white, so bright neons or certain Pantone shades might not match exactly. If color accuracy is critical, create a test swatch and press it onto the same fabric you'll use. Also, consider the fabric color: a design printed on a dark shirt will look different than on a white one because the white ink layer affects opacity. For best results, use a color profile provided by your printer manufacturer or RIP software.
Step 2: Printing the Film
Now comes the actual printing. You'll need a DTF printer (or a converted inkjet printer with DTF inks) and DTF film. The film has a coated side where the ink goes; printing on the wrong side ruins the transfer. Most films have a matte side and a shiny side; the matte side is the print side. Always check the instructions. Load the film carefully, ensuring it's flat and aligned. The printer will first print the white ink layer (if your design requires it), then the CMYK colors on top. Some printers allow you to adjust white ink density; more white means a more opaque print on dark fabrics, but too much can make the transfer stiff. I usually set white ink to around 80-90% for a good balance.
Printer Settings That Matter
Each printer is different, but key settings include print quality (high quality for fine details), ink density, and white ink layering. If your printer supports it, use a RIP software to manage these settings per design. Also, keep your printer clean: clogged nozzles lead to banding and wasted film. I run a nozzle check before every session.
Step 3: Applying the Adhesive Powder
Once the ink is on the film, while it's still wet, you sprinkle hot-melt adhesive powder over the entire printed area. The powder sticks to the wet ink. Then you shake off the excess. This step is crucial: too little powder and the transfer won't bond well; too much and you'll get a rough, rubbery feel. I use a dedicated powder shaker for even distribution, then gently tap the film to remove excess. You can also use a powder application machine for consistency, but manual works fine with practice.
Choosing the Right Powder
Not all powders are equal. DTF powder comes in different particle sizes (usually 80-200 microns). Finer powder gives a softer hand feel but may require more careful application. Coarser powder bonds aggressively but can feel thicker. For apparel, I prefer a fine to medium powder (around 100-150 microns) for a good balance. Also, ensure the powder is specifically for DTF; other adhesives may not cure properly.
Step 4: Curing the Powder
After powdering, you need to melt the powder into a smooth, gel-like layer. This is done with a heat source, typically a heat press or a dedicated curing oven. The goal is to reach around 320-350°F (160-175°C) for about 2-3 minutes. If using a heat press, set it to low pressure and place the film (powder side up) on a protective sheet. You'll see the powder go from white and grainy to clear and glossy. That's your cue that it's cured. Overcuring can make the transfer brittle, so keep an eye on it. Once cured, the film can be stored for later use or pressed immediately.
Curing Troubleshooting
If the powder doesn't melt fully, you'll get a gritty transfer that peels. If it melts too much, the ink can spread. The sweet spot depends on your equipment; I recommend testing with a small piece and adjusting time/temperature. Also, humidity affects curing: in damp environments, powder can clump. Store powder in an airtight container.
Step 5: Heat Pressing the Transfer
Now the final step: transferring to your garment. Set your heat press to 300-325°F (150-160°C) with medium pressure. Pre-press the garment for a few seconds to remove moisture. Place the transfer on the fabric, powder side down (the printed side should face up). Press for 10-15 seconds. Then, while it's still hot, peel the film off. You can do a hot peel or cold peel depending on the film type; most DTF films are hot peel, meaning you peel immediately after pressing. If you wait too long, the adhesive might set and make peeling difficult. After peeling, you can do a second press for a few seconds with a protective sheet to enhance durability.
Fabric Compatibility
DTF works on almost any fabric: cotton, polyester, blends, spandex, leather, and even some treated nylon. However, for stretchy fabrics, use a stretchable transfer by adjusting powder amount and pressing technique. For moisture-wicking fabrics, pre-press longer to remove moisture. Always test on a scrap piece first.
Common Mistakes and How to Avoid Them
Even with a solid process, things can go wrong. Here are the most frequent issues I've encountered and how to fix them:
- Ink smudging during powdering: This happens if the ink isn't dry enough. Ensure your printer's settings allow proper drying time, or use a film designed for wet powder application.
- Powder not sticking: Too little ink or printing on the wrong side of the film. Check your film orientation.
- Transfer peeling after washing: Usually due to undercuring or insufficient pressure during pressing. Increase cure time or pressure.
- Stiff prints: Too much powder or white ink. Reduce white ink density and use finer powder.
- Color fading: Low-quality inks or overpressing. Use reputable inks and follow temperature guidelines.
Why Choose DTF Over Other Methods?
Compared to DTG (Direct to Garment), DTF doesn't require pre-treatment and works on more fabric types. Compared to screen printing, it's more cost-effective for small batches and complex designs. You can print full-color photographic images with gradients and fine details that screen printing struggles with. Plus, the transfers can be stored and pressed on demand, making it great for on-demand production. The hand feel is soft, especially with a well-calibrated process, and durability is excellent when done right.
Essential Equipment for DTF Printing
To get started, you'll need:
- A DTF printer (or a converted Epson printer with DTF inks and a RIP software).
- DTF film (PET film with a special coating).
- DTF ink set (CMYK + white).
- Hot-melt adhesive powder.
- A heat press or curing oven.
- Heat-resistant tape and protective sheets.
- Powder shaker or applicator.
Quality matters: cheap inks or film can lead to clogs, poor adhesion, and frustration. Invest in reputable brands and maintain your printer regularly.
Frequently Asked Questions
Can I use DTF on 100% polyester?
Yes, DTF works great on polyester. However, polyester can be sensitive to high heat, so lower your press temperature to around 280-300°F (140-150°C) and press for a shorter time to avoid scorching or dye migration. Always test first.
How do I store unused DTF transfers?
Store them in a cool, dry place, away from direct sunlight. Keep them flat or rolled, not folded, to prevent creases. If stored properly, they can last for several months. I use a zip-lock bag or a plastic sleeve to protect them from dust and moisture.
What's the difference between hot peel and cold peel DTF film?
Hot peel film allows you to remove the carrier sheet immediately after pressing while the transfer is still hot. Cold peel requires you to wait until it cools completely. Hot peel is more common and faster, but cold peel can sometimes give a smoother finish. Check your film's instructions.
Why did my DTF transfer crack after washing?
Cracking usually means the transfer wasn't cured properly or the powder wasn't fully melted. Ensure your curing step reaches the right temperature and time. Also, washing inside out in cold water and avoiding bleach will extend the life of your print.
Do I need a special printer for DTF?
You can buy a dedicated DTF printer, or convert a regular inkjet printer (like certain Epson models) with DTF inks and a RIP software. Conversion is cheaper but requires more maintenance. Dedicated printers are more turnkey but cost more upfront.
Mastering DTF takes practice, but the payoff is huge: vibrant, durable prints on almost any fabric, with the freedom to print on demand. Start with small tests, keep notes on your settings, and soon you'll be producing professional-quality transfers. If you're looking for supplies, check out dtfbasic.com for reliable materials and equipment.