DTF printing file prep is the foundation of reliable, high-quality transfers, guiding your designs from screen to fabric with precision. By focusing on file requirements and print-ready artwork for DTF, you set up your project for predictable color, clean edges, and consistent results. This emphasis on careful preparation aligns with the idea of artwork edits for DTF, preserving your original concept while ensuring printability. Following clear DTF design guidelines helps prevent costly mistakes, from color shifts to misalignment and white ink issues. In practice, the approach mirrors the base content by outlining steps from understanding file requirements to creating a robust, repeatable workflow.
For designers new to DTF, the concept can be described in alternative terms like prepress readiness for direct-to-fabric projects. In practice, this phase ensures the file is transfer-ready, color-managed for the substrate, and compatible with the printer’s workflow. Other phrasing, such as DTF file preparation, artwork optimization for textiles, or print-ready assets for transfers, captures the same idea from different angles to fit varied search intent. Adopting these terms signals a focus on crisp outlines, faithful color, and dependable production across different fabrics and equipment. By embracing LS-informed variations, you can approach DTF file prep with flexibility while maintaining consistent results.
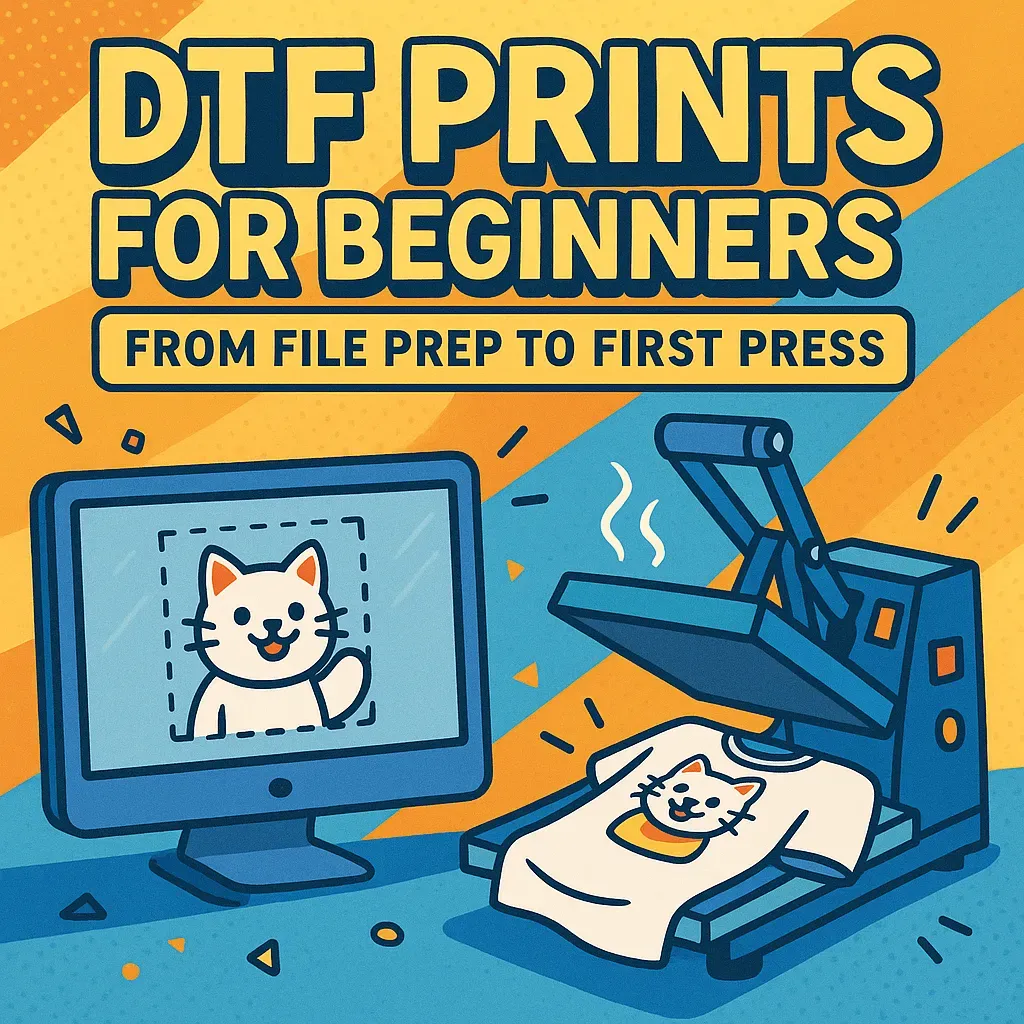
DTF printing file prep: Foundation of Consistent Transfers
DTF printing file prep sets the foundation for color accuracy, edge integrity, and overall transfer yield. By aligning your artwork with your printer’s capabilities, you reduce the risk of color shifts, misalignment, and underprint issues on fabric. In this guide, DTF printing file prep is treated as a practical discipline, covering color management, resolution targets, bleed, and layer strategy to deliver predictable results.
To start, create a layered master file so you can adjust edits without redoing work. Export a flat, print-ready version for production and verify that bleed and safe margins are correctly sized. This approach aligns with best practices and helps ensure reliable print-ready artwork for DTF when scaling across garments and substrates.
Artwork edits for DTF: Precision Edits that Preserve Design Integrity
In artwork edits for DTF, precision is everything. Focus on color management so adjusted colors translate accurately on the chosen substrate, accounting for the white underprint process and fabric texture. The goal is to maintain the original design intent while ensuring clean separations and smooth gradients that won’t band during printing.
Edge integrity matters: ensure strokes and outlines are thick enough to remain visible on textured fabrics, and maintain crisp anti-aliasing. Plan the white ink pass and base underneath for designs with white elements. These concerns are central to artwork edits for DTF and help preserve fidelity from screen to fabric.
Print-ready artwork for DTF: Finalizing Files for Production
For final deliverables, print-ready artwork for DTF requires careful file formats and resolution. Use vector formats when possible to retain sharp edges, and raster elements at 300–600 PPI at the final print size. Keep transparency handling clear and align color management with the printer’s capabilities to minimize surprises on press.
Soft proofing and test prints bridge the gap between digital design and fabric reality. Calibrate your monitor, embed the correct color profile, and compare proofs against a physical sample. By prioritizing print-ready artwork for DTF, you catch issues early and reduce costly reprints.
DTF design guidelines: Best Practices for Successful Transfers
DTF design guidelines emphasize clean vector paths, restrained color palettes, and strategic placement for different garment types. Choose a color space that mirrors the printer workflow—whether CMYK with embedded ICC profiles or device-specific profiles—to achieve predictable results across runs. Plan underbase and white ink considerations within the design to avoid surprises on dark fabrics.
Respect safe zones, proper bleed, and edge fidelity as core principles. Following these guidelines minimizes misalignment and edge artifacts, while ensuring consistent results across printers and substrates. Adhering to DTF design guidelines supports scalable production and smoother collaboration with print partners.
Color management in DTF: Profiles, Proofing, and Color Fidelity
Color management in DTF printing involves deliberate decisions about color space, ICC profiles, and proofing workflows. Embed the appropriate profiles in your artwork to maintain color integrity across devices, and use soft-proofing to approximate fabric output before sending files to production. A consistent color workflow reduces guesswork and reprints.
Practical tips include monitor calibration, consistent ink handling, and accounting for substrate variation. Run small test swatches to verify color accuracy before larger runs. This approach supports robust print-ready artwork for DTF and aligns with best practices in DTF printing file preparation.
Practical Workflow: Step-by-Step DTF File Prep Checklist
Following a reproducible step-by-step DTF file prep checklist minimizes errors and accelerates production. Start by confirming printer specs, color mode, and embedding the correct color profile. Prepare a layered master file for editing and a flattened print-ready version for production.
Then set up an appropriate bleed and safe margins, ensure vector elements are clean, and raster images meet the target resolution. Verify white underprint considerations, flatten or rasterize as needed, and save with descriptive filenames. Finally, run a soft proof or a test print to validate color and layout before full-scale production.
Frequently Asked Questions
What is DTF printing file prep and why is it essential for successful transfers?
DTF printing file prep is the process of preparing artwork for DTF transfers, including verifying printer specs, color management, bleed and safe zones, and maintaining a layered master for edits. Proper DTF printing file prep prevents color shifts, misalignment, and white ink issues, reducing costly reprints and ensuring consistent, high-quality DTF design outcomes.
How can I optimize artwork edits for DTF to ensure accurate color and crisp edges?
Focus on artwork edits for DTF by managing color with the substrate in mind, keeping clean color separations, and adjusting saturation and brightness. Ensure strokes are thick enough for fabric textures, plan white ink underbase accurately, and use soft proofing to verify edge clarity—key elements of effective artwork edits for DTF.
Which file formats and color management practices should I use during DTF printing file prep to ensure print-ready artwork for DTF?
Choose formats that preserve detail: PNG with alpha or TIFF for raster art, PDF or EPS for vector art. Maintain color consistency with embedded ICC profiles and soft proofing, and handle fonts by outlining or packaging. These practices align with DTF printing file prep and help yield true-to-design print-ready artwork for DTF.
What are the essential bleed, safe margins, and resolution guidelines for DTF printing file prep?
Set the final print size with a defined bleed area and a safe margin to prevent white gaps or edge cuts. Use 300–600 PPI at the target size for good detail without oversized files. Flattened files are often more reliable for printing, but keep a layered master for later edits during DTF printing file prep.
Is there a practical step-by-step DTF file prep checklist I can follow to prevent costly print errors?
Yes. Step-by-step DTF file prep: 1) confirm printer specs and color profile; 2) prepare a layered master file and a flattened print-ready version; 3) set color mode and embed the correct profile; 4) create bleed and safe margins; 5) ensure vector elements are clean and raster images are 300–600 PPI; 6) verify transparency and plan white underbase if needed; 7) flatten or rasterize carefully; 8) save with a descriptive file name; 9) run a soft proof or test print before production.
What are common mistakes in DTF design guidelines and how can I fix them during file prep?
Common mistakes include color shifts after printing, weak edges or blurry lines, missing or substituted fonts, and incorrect white underprint handling. Fixes: use the printer’s ICC profile with soft proofing, increase stroke width and simplify gradients, convert fonts to outlines or package fonts, and plan white ink layers with the garment color in mind as part of solid DTF design guidelines.
| Section | Key Points | Practical Tips |
|---|---|---|
| 1) Understanding DTF file requirements | Universal requirements include color space, resolution, bleed/safe margins, and layer handling; flattening for reliability while keeping a layered master for edits. | – Color space: CMYK with embedded profile when possible; ensure correct ICC profile is attached. – Resolution: 300–600 PPI at final size. – Bleed/safe margins: include bleed and protect important artwork in a safe zone. – Transparency and layers: flatten for printing, keep a layered master for edits. |
| 2) Artwork editing for DTF | Edit to preserve original design intent while ensuring print readiness; focus on color management and edge integrity. | – Color adjustments: fine-tune saturation/brightness for substrate and white underprint. – Edges: maintain sufficient stroke width; clean anti-aliased edges. – White ink considerations: plan white layer coverage and underbase. – Background handling: consider white underprint on dark fabrics if needed. |
| 3) File formats and color management for DTF | Choose formats that preserve detail and color accuracy; maintain embedded profiles and soft proofing; handle fonts. | – File formats: PNG (with alpha) or TIFF for raster; PDF/EPS for vectors where supported. – Color management: embedded profiles and soft proofing. – Font handling: convert to outlines or package fonts with the file. |
| 4) Size, bleed, and resolution guidelines | Set final size, include bleed, maintain safe margins, and ensure DPI is appropriate for the target print. | – Final size/scaling: match garment area; avoid upscaling beyond native quality. – Bleed/safe zones: maintain defined bleed and safe margins. – DPI: 300–600 DPI at target size. |
| 5) Step-by-step DTF file prep checklist | A reproducible checklist to prevent missing steps in preparation. | – Confirm printer specs and profile. – Prepare layered master and a flattened print-ready version. – Set color mode and embed the correct color profile. – Create/verify bleed area and safe margins. – Ensure vector elements are clean; raster images are 300–600 PPI. – Plan white underbase if required. – Flatten/rasterize carefully. – Save with a descriptive filename. – Run soft proof or test print. |
| 6) Common mistakes and fixes | Identify frequent issues and practical remedies to maintain print fidelity. | – Color shifts: revisit color space, embedded profiles, and soft proofing. – Weak edges: increase stroke width; simplify gradients. – Missing fonts: package fonts or outline text. – White underprint issues: plan white ink layers and alignment. |
| 7) Practical tips and tools | Tools, workflows, and testing practices that support reliable output. | – Software: Photoshop and Illustrator; vector tools for clean edges. – Soft proofing: calibrated monitors; simulate fabric output. – Test prints: perform on the actual substrate before full production. |
Summary
DTF printing file prep emphasizes preparation steps that translate designs accurately from screen to fabric, focusing on color management, proper file formats, and precise bleed and resolution. This structured approach helps prevent common print issues and supports consistent, production-ready transfers across garments and substrates.