UV DTF transfers troubleshooting is your essential starting point for diagnosing why vivid images crack, peel, or fade on fabrics, mugs, and other substrates. This guide helps you map symptoms to root causes, from material compatibility to curing variables, so you can minimize waste and improve durability. By following proven remedies and documenting outcomes, you can steadily raise transfer quality across projects, applying DTF transfer troubleshooting tips in practice. You’ll understand UV DTF transfer cracking causes, how to fix peeling in UV DTF transfers, and UV DTF fading prevention to extend the life of each print. We also share practical steps and best practices that fit small runs or hobbyist workflows, including UV transfer durability and care guidance to prolong print life.
Alternative framing for this topic includes UV-curable ink transfers and digital textile printing with UV inks, which describe the same technique in different terms. The focus is on achieving durable adhesion, flexible film behavior, and colorfast results across fabrics, mugs, and other substrates. To align with Latent Semantic Indexing (LSI) principles, we can explore related concepts such as substrate compatibility, curing dynamics, post-process protection, and finishing coatings. By pairing terms like fading resistance, long-term durability, care guidelines, and performance testing, readers gain a broader understanding of UV transfer technology without repeating the exact phrasing.
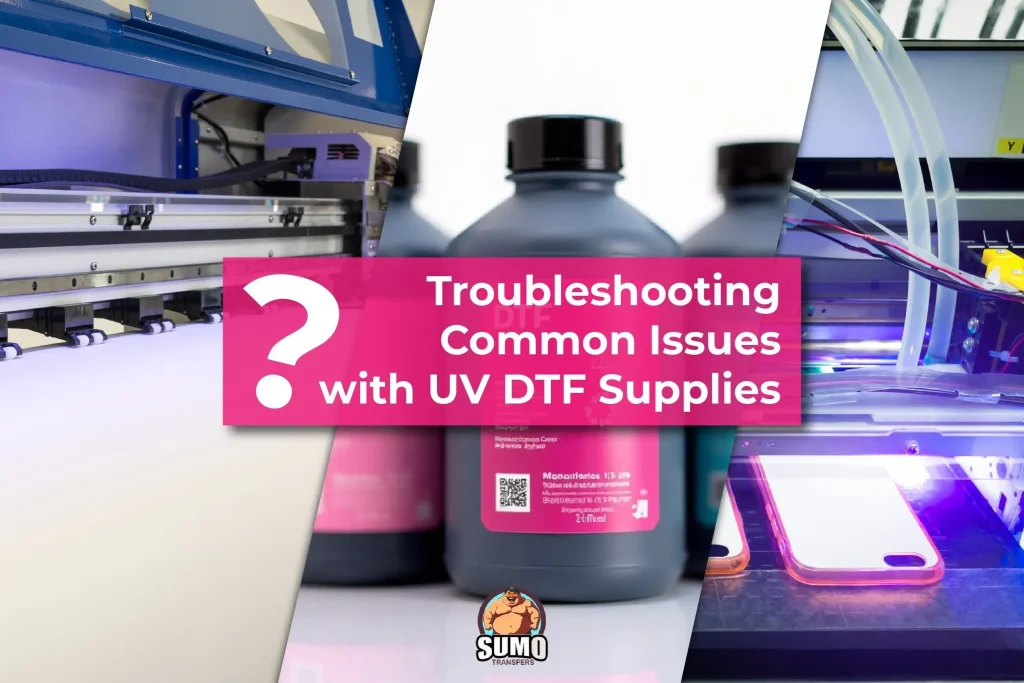
Understanding UV DTF transfers troubleshooting: A Complete Framework
Understanding UV DTF transfers troubleshooting begins with recognizing that results depend on the entire workflow: design decisions, substrate compatibility, ink density, adhesive chemistry, and curing parameters. A systematic framework helps you isolate variables and protect against common issues like cracking, peeling, and fading. When you align ink chemistry with the substrate and ensure the topcoat provides the right balance of hardness and flexibility, you dramatically reduce rework. By framing troubleshooting as a workflow problem rather than a single setting, you can apply repeatable methods across different products and materials.
Adopt a framework that covers design, materials, process, and post processing. Start by defining the symptom, inspecting the substrate and prep, and verifying material compatibility. Maintain consistent printing and curing parameters and document results to track what works as you adjust recipes or materials. This approach also supports long term UV transfer durability and care by making it easier to educate customers and implement reliable care guidance.
Cracking and Elasticity: Understanding UV DTF transfer cracking causes
Cracking in UV DTF transfers is typically a sign of mechanical stress or an elasticity mismatch between the film, ink, and substrate. Over thick ink deposits, stiff top coats, or substrates with limited stretch can cause cracks to form, especially along folds or high wear zones. Excessive heat or rapid cooling after pressing can also exacerbate cracking. Checking the top coat hardness is wise, because a very hard coating can limit flex without cracking, while an overly soft top coat may not protect the image.
To reduce cracking, balance ink density with the substrate and choose a flexible top coat when flex is expected. Calibrate curing temperature and dwell time to avoid over curing or under cure, and verify heat distribution across the press surface. Incorporate design strategies such as anti crack line placement and deliberate margins to minimize stress concentrations. These adjustments tie directly into the overarching concept of UV DTF transfer cracking causes and help improve durability during real world wear.
Peeling Solutions: How to fix peeling in UV DTF transfers
Peeling happens when the adhesive bond to the substrate is weak or compromised by surface conditions. A dirty, glossy, or oily surface, or using an adhesive not matched to the fabric, often leads to early delamination. Inadequate curing, post press contamination, or insufficient dry time before handling can also contribute. The combination of poor surface prep and incompatible adhesive is a frequent culprit behind peeling in UV DTF transfers.
Fix peeling by starting with thorough surface prep: clean, dry, and if needed lightly roughen glossy areas to improve adhesion. Ensure the adhesive chosen matches the fabric type, whether cotton, polyester, or blends, and confirm curing time is sufficient for the adhesive film to form a strong bond. Revisit pressing temperature and time to avoid scorching while enabling full cure. If peeling persists, re-evaluate the coating system and interaction between ink, film, adhesive, and topcoat and consider a trial with a different adhesive or topcoat. This aligns with practical DTF transfer troubleshooting tips.
Fading Prevention: UV DTF fading prevention strategies for durable color
Fading occurs mainly from UV exposure, low ink saturation, or insufficient protective coatings. UV resistant inks and pigments designed for colorfast performance in sun or bright indoor environments help preserve vibrancy. Applying a robust protective layer, such as a compatible clear coat or laminate, shields the image from sunlight, laundering, and abrasion. Remember to consider the substrate color and how it impacts perceived intensity, since pale fabrics can reveal inconsistencies more readily.
To minimize fading over time, select UV DTF inks with proven fade resistance and pair them with a durable protective layer. Consider laminates or UV stable clear coats that survive washing cycles. Educate customers about washing and storage practices to maintain color, such as turning garments inside out and avoiding direct sun during display. Regularly test colorfastness under realistic wear conditions to tune your UV DTF fading prevention strategy.
Durability and Care: UV transfer durability and care for long lasting results
Durability is built from a balanced formulation, a robust cure schedule, and sound care guidance for end users. When ink, adhesive, film, and topcoat work in concert, the transfer resists cracking, peeling, and color loss through repeated washes. A durable UV transfer also depends on the substrate compatibility and the post press handling that minimizes stress points and delamination. In short, durability grows from carefully selected materials and a controlled cure process.
Care guidance is essential for long lasting results. Recommend washing inside out, using mild detergents, avoiding bleach, and air drying when possible. Provide customers with clear laundering instructions and a care label that reflects the protective system used. By communicating proper care, you extend the life and color integrity of UV transfers and support overall durability and care goals.
DTF Transfer Troubleshooting Tips: A practical step-by-step guide
DTF Transfer Troubleshooting Tips offer a practical, repeatable path to identify and fix problems. Start with a small test patch on a representative substrate to verify ink density, color balance, and curing. Use a controlled approach where you adjust one variable at a time and document the results so you can compare performance across trials. A methodical sequence makes it easier to trace failures back to root causes, whether cracking, peeling, or fading.
Develop a standard operating procedure that captures your settings, materials, and outcomes. Keep a lasting log of adhesive types, top coats, press temperatures, times, and substrate prep steps. Use this log to build a library of validated recipes and protective strategies, including UV DTF transfer encouraging best practices for durability and care. Providing a clear guide helps scale production, reduce waste, and deliver consistent, high quality UV transfers during ongoing UV DTF transfers troubleshooting.
Frequently Asked Questions
What are the main UV DTF transfer cracking causes in UV DTF transfers troubleshooting?
Cracking typically signals a flexibility issue in the transfer. Common UV DTF transfer cracking causes include over-thick ink deposits, a too-rigid top coat, substrate elasticity mismatch, excessive heat, or rapid cooling after pressing. Remedies: reduce ink density, use a flexible/topcoating system, ensure substrate compatibility, optimize curing temperature and dwell time, and avoid hard coatings in high-flex areas such as folds or seams.
How to fix peeling in UV DTF transfers as part of UV DTF transfers troubleshooting?
Peeling stems from a weak bond between the transfer and substrate or poor surface prep. To fix: clean the substrate and lightly roughen glossy surfaces if required, ensure the adhesive matches the fabric (cotton, polyester, blends), verify complete curing, and prevent post-transfer contamination. Reassess pressing parameters (temperature, time, pressure) to form a strong bond without scorching. If peeling persists, re-evaluate the coating system and test alternative adhesives.
What are best practices for UV DTF fading prevention in UV DTF transfers troubleshooting?
Prevent fading by using UV-stable inks and pigments designed for colorfastness, and applying a robust protective layer such as a compatible clear coat or lamination. Consider substrate color and ensure a uniform base for optimal vibrancy. Avoid direct, prolonged sun exposure and provide clear care instructions to preserve color during washing and wear.
What are essential DTF transfer troubleshooting tips for UV DTF transfers troubleshooting?
Adopt a methodical, test-first approach. Start with a small test patch on a representative substrate to check ink density, color balance, curing, and post-press handling. Maintain consistent heat, pressure, and time, and document results to compare performance as you adjust materials. If issues persist, review the entire chain—from ink chemistry and adhesive compatibility to transfer film quality and curing method—and change one variable at a time.
How do UV transfer durability and care affect long-term results in UV DTF transfers troubleshooting?
Durability comes from a well-balanced formulation and a robust cure schedule, plus proper care guidance. Use compatible ink chemistry and adhesives, and apply protective topcoats. Care instructions should include washing inside-out, using mild detergents, avoiding bleach, and air-drying when possible to preserve color and detail across washes.
What practical framework can I use in UV DTF transfers troubleshooting to improve adhesion and avoid cracking, peeling, or fading?
Use a practical seven-step framework: 1) Define the problem (cracking, peeling, fading) and when it occurs. 2) Inspect substrate and surface prep. 3) Confirm material compatibility across ink, film, adhesive, and topcoat. 4) Check printing and curing parameters. 5) Re-test with a controlled variation, changing one variable at a time. 6) Add protective measures (UV topcoat or laminate). 7) Review care instructions and educate the customer. Document results to build a repeatable SOP that improves adhesion and durability.
| Topic | Key Points |
|---|---|
| UV DTF transfers overview | • Bright colors and soft hand feel • Simple workflows for small businesses and hobbyists • Scales across fabrics, mugs, and other substrates • Working with different materials may require adjustments to ensure durability. |
| Common problems ( Cracking, Peeling, Fading ) | • Cracking, peeling, and fading are common symptoms • Root causes involve material compatibility, surface prep, ink/coating quality, curing/pressing parameters, and post-application care • Most issues stem from repeatable missteps in workflow, not a single defect. |
| Root causes & dynamics | • Material compatibility, surface prep, ink/coating quality • Curing and pressing parameters • Post-application care • Optimizing design, adhesion, curing reduces issues and improves reliability. |
| Cracking causes | • Over-thick ink deposits and stiff top coats • Substrate elasticity mismatches • Excessive heat or rapid cooling • Cracks may appear along folds or high-wear areas • Top coat hardness can reduce flex; ensure adequate elasticity. |
| Fixing peeling | • Ensure strong adhesive bond and proper surface prep • Clean and dry substrate; roughen glossy surfaces if needed • Use adhesive compatible with fabric type; verify curing time • Re-evaluate pressing temperature/time; adjust heat/pressure/dwell • If peeling persists, reassess coating system and adhesion chain. |
| Fading prevention | • Use UV-resistant inks/pigments designed for colorfastness • Apply protective clear coat or lamination • Consider substrate color and its impact on vibrancy • Avoid direct, prolonged sun exposure; provide proper washing guidance |
| Troubleshooting tips | • Take a methodical, repeatable approach with test patches • Check ink density, color balance, curing, and post-press handling • Document results and maintain a log to compare performance • If issues persist, review ink chemistry, adhesive compatibility, film quality, and curing method |
| Durability and care | • Durability depends on balanced formulation and robust cure schedule • Provide clear care guidance: wash inside-out, mild detergents, avoid bleach, air-dry if possible • Educating customers helps preserve color and detail over time |
| Framework for troubleshooting | • Define the problem (cracking, peeling, fading) and when it occurs • Inspect substrate and surface prep • Confirm material compatibility (ink, film, adhesive, topcoat) • Check printing and curing parameters • Re-test with controlled variation; adjust one variable at a time • Add protective measures; review care instructions |
| Materials, tools & workflow | • Inks/pigments with UV stability and fade resistance • Adhesives suited to substrate (cotton, poly-blend, hard surfaces) • Transfer films with proper elasticity and surface energy • Protective clear coats or laminates for washing/sun exposure • Heat press settings that prevent scorching or cracking • Post-press handling like cooling times and protection |
| Checklist (step-by-step) | • Identify symptom (cracking, peeling, fading) • Confirm substrate prep quality • Verify material compatibility • Check pressing parameters and heat distribution • Test patch with minimal design; document results • Adjust one variable at a time; retest • Implement protective measures; assess wash durability • Create SOP documenting findings |
| Best practices & case examples | • Some brands find medium ink density with a flexible topcoat improves longevity on performance fabrics • Slightly tackier adhesive may improve adhesion on synthetic blends • Emphasize controlled tests and documentation to build a settings library |
Summary
Conclusion: UV DTF transfers troubleshooting is a practical, stepwise process focused on diagnosing and fixing common UV DTF transfer issues. By understanding how materials, design, and processing interact, you can address cracking through improved surface prep and adhesive choices, prevent peeling with correct substrate preparation and coating systems, and reduce fading with UV-stable inks and protective coatings. The core discipline is testing, documenting, and iterating—stitching together reliable adhesion, flexibility, and color longevity. With careful substrate prep, proper curing, and thoughtful post-processing care, you’ll minimize errors, improve customer satisfaction, and achieve durable UV DTF transfers that stand up to real-world use.

